Care Instructions
Taking care of your new product is easy if you follow a few steps! Keep scrolling to view care instructions for your products.
In all of our other products, we are committed to using finishes that are better for the environment and better for your home whenever possible. Many products off-gas, which means you are exposed to VOCs sometimes without even knowing it. The friendlier options we use include hardwax oils by OSMO, Tried & True, and Rubio, water-based finishes from Aqua Coat and Seal Once, and beeswax finishes such as Clapham’s.
With a friendlier finish comes some considerations. With use, your piece will need to be refinished every 3-5 years to retain its like-new look. This is easy and can be done at home where the piece is positioned, but we are also happy to travel to our BC customers to complete this for you (for a travel fee). With all products, a detailed care sheet will be included for that product, and a “to-go” baggy to set you up for success, but you can always contact us if you need any help :)
Here are some basic tips when reapplying finish to your piece, you know, in case you lost that piece of paper:
Use a soft microfibre cloth to remove dust and loose debris.
Use a mild soap and water to remove dirt. This looks like a damp microfibre cloth with the soap squished in to ensure single areas are not over-saturated.
Depending on the finish used, it may be necessary to touch up or remove scuffs and scratches. Contact us for specifics of your product.
For hardwax oils, use a white Scotch-Brite pad with a small amount of finish worked into the fibres and work the finish into the wood with the grain. This might feel like a workout, but that’s what you want! Once left for a few minutes, wipe any excess with a blue shop towel. Leave for 8-10 hours undisturbed, and 72 hours from regular use.
Cutting Board and Candle specfic instructions below ~

Cutting Board Care Instructions
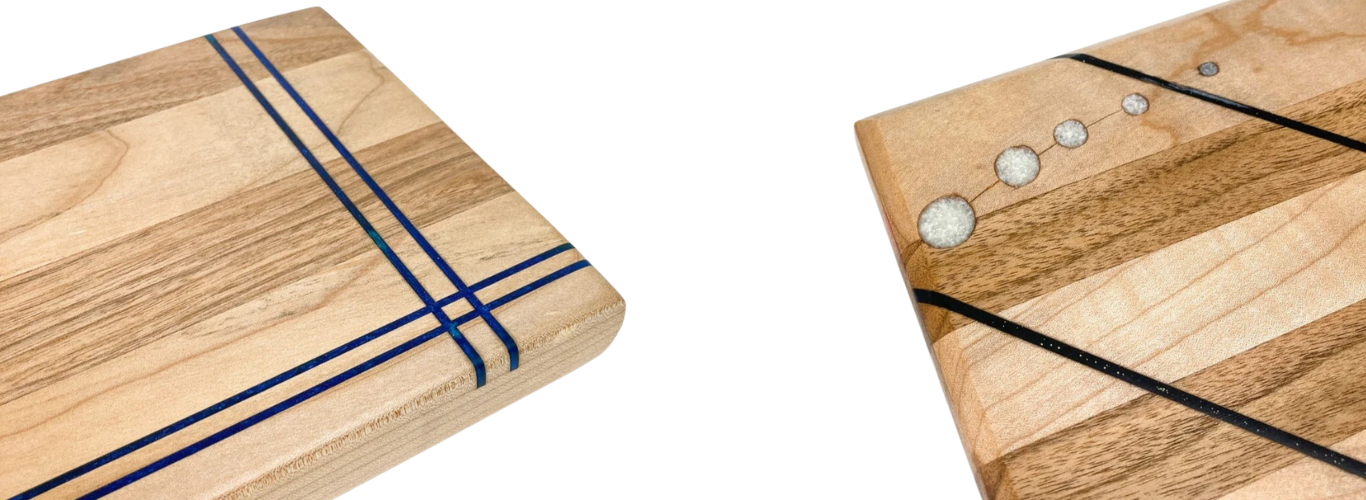
THANK YOU for choosing us to create something beautiful for you. So, how can your new funky board stay lush? We treated your board with love and multiple coats of Osmo Topoil - but, as with any food-safe product, continued use will eventually lead to dryness, cloudiness, or a dull finish.
Please read the following care instructions to ensure that your new board doesn’t warp, split, or dry out. Without proper care, your new board will quickly lose its new feel.
PLEASE DO NOT:
Put the board in the dishwasher. The heat and water will warp and splinter the wood
Dunk or let boards stand in water. The wood will absorb water and potentially warp.
Use bleach, olive oil, or other solvents to “treat” your board. This will stain the wood, cause the board to go rancid, and/or excessively dry the wood.
Put a wet board flat to dry. If the board dries on one side, it will cause the wood to warp
Abuse, alter, or use of cutting board for purposes other than it was intended
Expose cutting board to extreme heat, cold, or open flame
Store cutting board in excessively damp or humid environment
PLEASE DO:
Treat boards with butcher block oil or food-safe wax when they appear dry, cloudy, or dull
Only “wash” boards with a mild, diluted soap and a damp, non-abrasive cloth. Wipe dry and allow board to breathe while damp (leaning it upright to allow equal drying is best).
Cut lightly. Wood and resin scratches and chips under a knife. Use sharp knives as they avoid heavy cutting! For decorative resin boards, consider cutting food prior to displaying.
FURTHER INFORMATION:
Wood is a natural substance prone to changes. Dry wood soaks in moisture so colour changes may occur with prolonged exposure to food and water. After several “wipes,” the board’s grain may feel rougher, especially with more porous wood. This is normal for natural boards! If you want a permanent shine, we’d be happy to coat your piece with a synthetic top coat.
To adjust the feel of your board, add food-safe oil or wax and buff with a non-abrasive cloth. You can also lightly sand your board with a 400-600 grit wet sanding block to smooth the wood grain out. Avoid sanding over resin as sandpaper may leave scratches. As with plastic boards, cutting on resin may transfer microplastics into food. The wood portion of our boards are 100% food-safe to cut, but consider avoiding cuts on resin.

Candle Care Instructions
Keep wicks trimmed to 1/4′′ or less to prevent soot.
Ensure candles are kept clean and don’t gather dirt or excess dust. If dirty or dusty, carefully clean the top of your candle with paper towel or lint-free cloth.
To ensure candles burn evenly, burn one hour for each inch in diameter or until the wax pool extends from edge to edge. For example, burn a 2.5′′ for 2.5 hours. This prevents tunnelling!
Bend curled/tilted wicks in the opposite direction with a metal tool to correct uneven burning.
Extinguish flame by pushing wick into the melted wax with preventing afterglow and smoke.
CONTAINER REUSE
Containers can be reused after burning. When a candle reaches the bottom, remove the wick using a spoon. While the wax is cool but still tacky, CAREFULLY wipe away any excess wax with a scrap cloth after the flame is extinguished Then, pour boiling water into the container and scrub with an old toothbrush. Wipe the cup to remove any excess wax. Repeat this process until the cup is clean! P.S Pour the wax water into a container you don’t care for; you do not want to pour hot wax down the sink as it will harden in the pipes! Once the water is cool, then you can dispose of the wax as you see fit. If there’s still wax stuck near the top or bottom, you can boil the container in a small saucepan until the wax is soft.
PLEASE NOTE
Containers with funky shapes come with consistency challenges! So, if you have extra wax, it can be used again as wax melts or in other small containers (all you need is a mold or wick!). If the top of the candle is larger than the bottom, there is a chance that the same will still melt wax that has clung to the edge.
WARNINGS
Candles can become VERY hot. Please use carefully and DO NOT:
Put hot wax on skin (not the same type of wax!!)
Touch candle container while the candle is lit
Leave candle unattended or leave children or pets unattended with candles
Burn for more than 4 hours. Allow candles to cool for at least two hours before relighting
Place candles on or around any flammable surfaces including, but not limited to, fresh Paint, paper, and aerosols.
Add water to extinguish the candle
Pour hot wax out of the container without protective gear (oven mitts, long clothing, etc)
We hope you enjoy your handmade products! If you have any questions, reach out to us at larissa@craftcovestudio.ca! And feel free to tag us on Instagram @craftcove_studio.